
Do Not Display
Paying attention to your HVAC unit only when it stops working could mean going for days without heating or air conditioning and ending up with unexpected, wallet-crunching repair bills. Fortunately, certain indicators let you know when something could go wrong with your HVAC system, allowing you to take action early enough. Be on the lookout for the following HVAC danger signs.
Inadequate Heating or Cooling
Your HVAC unit may run constantly but fail to heat or cool your home well. You may notice some rooms are too cold during the winter or too hot in the summer. Several HVAC issues could be to blame, such as:
A blocked vent
Clogged air filter
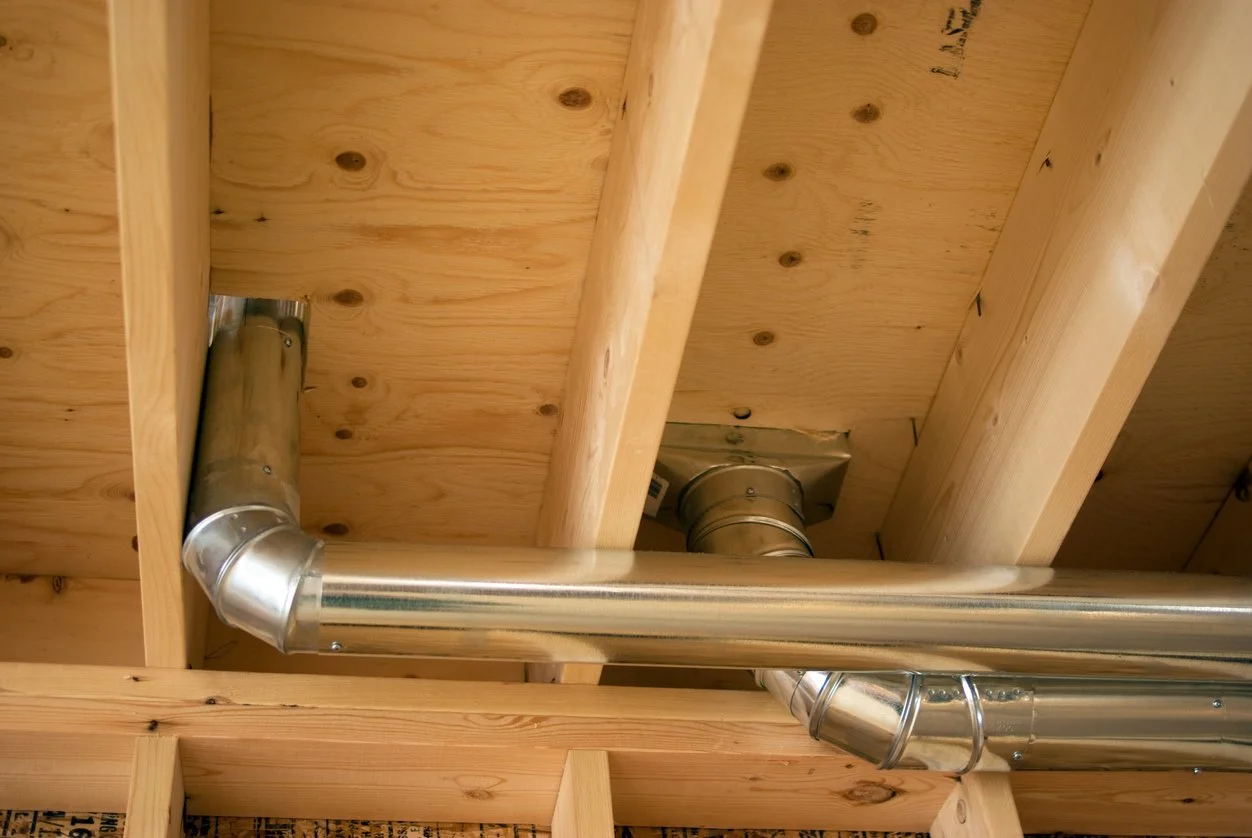
Damaged ductwork
Poor duct design
Faulty thermostat
System Turns On and Off Frequently
If your system turns on and off too frequently, airflow may be blocked or your system may be oversized.
Strange Smells
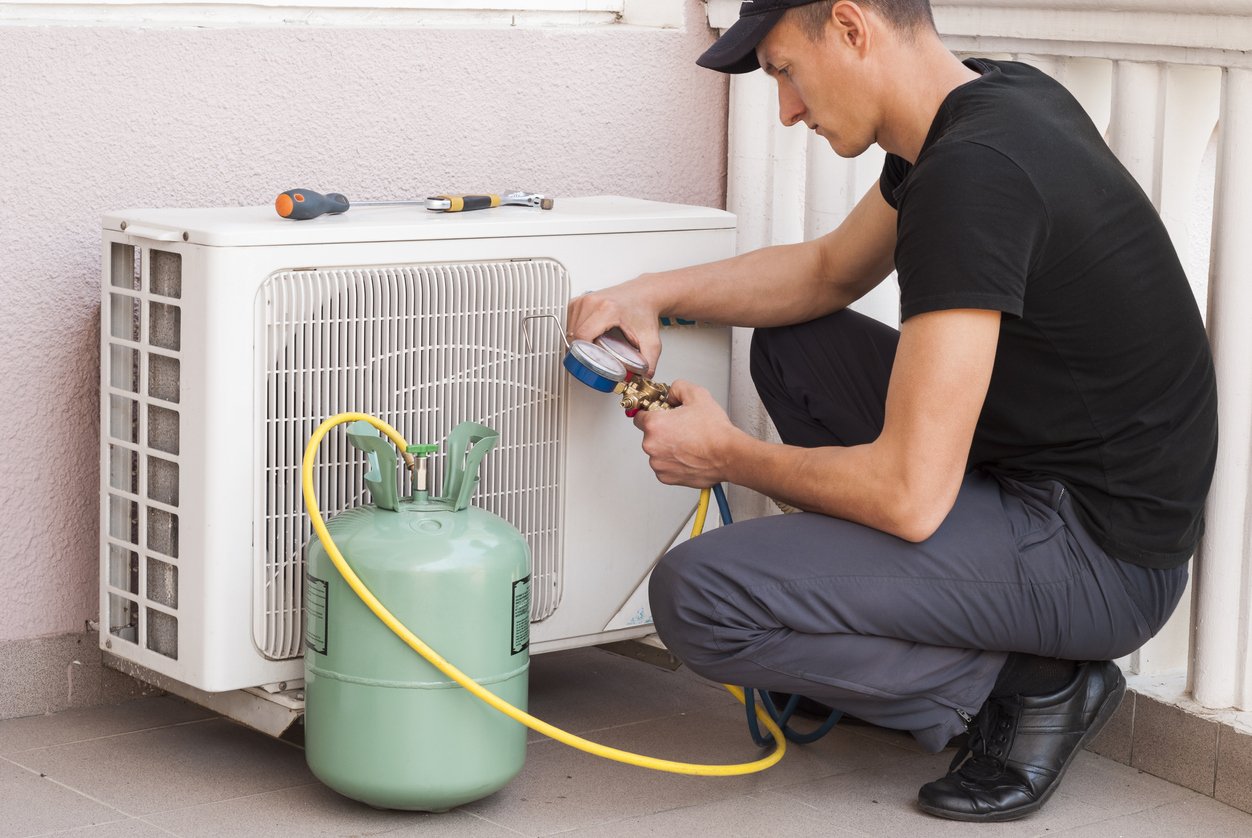
If a strong smell comes from your unit, you could have an electrical problem, refrigerant leak, a dead animal near or in the system, or mold buildup. You'll need an HVAC professional to inspect the system as soon as possible.
A rotten egg smell could be a sign of a gas leak, which is one of the most troublesome HVAC danger signs. The leak can lead to an explosion, so you should shut off the main gas line, seek professional help immediately, and stay away from your home until you're sure it's safe to go back inside.
Odd Noises
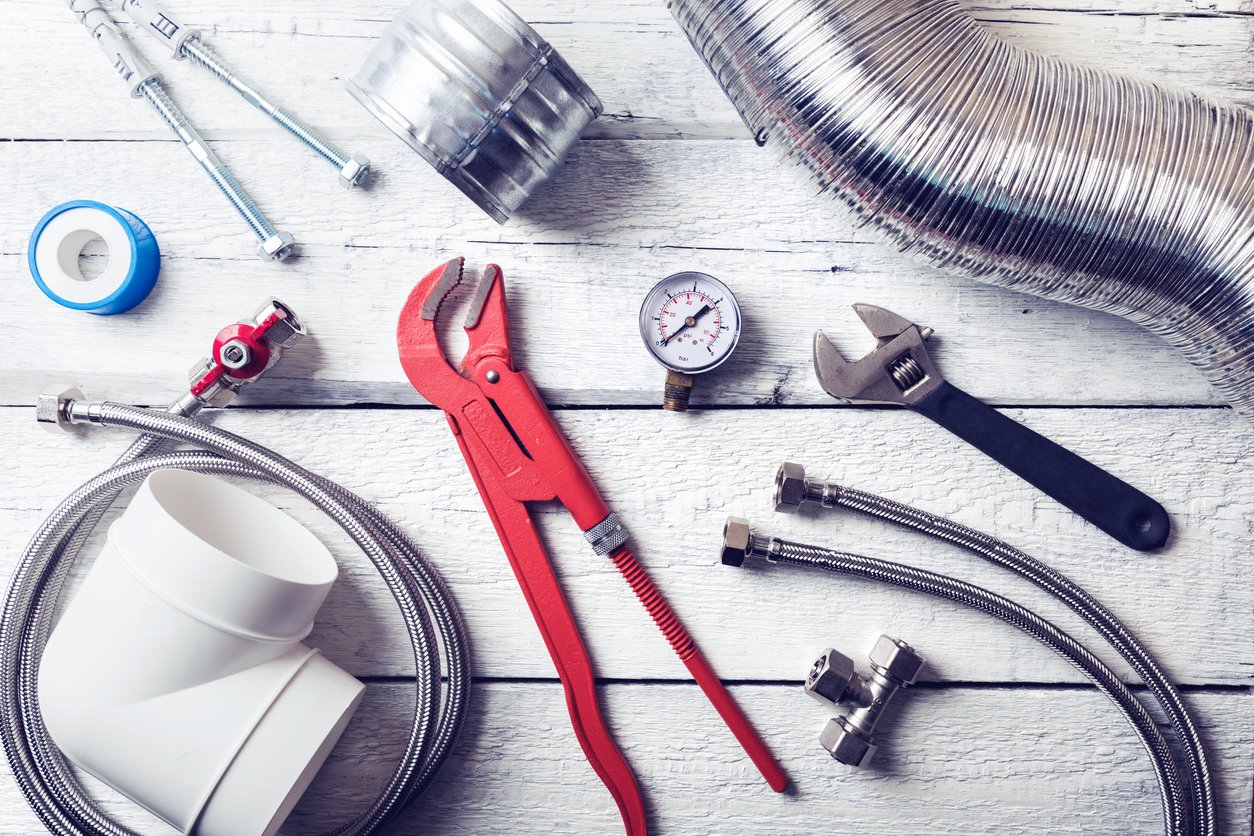
Banging, clanging, grinding, or rattling sounds from inside your HVAC system could be one of the HVAC danger signs that signal a loose or damaged component. An HVAC professional will help you fix the issue.
Puddles
Can you see puddles of water around your HVAC unit? You may have faulty seals or loose connections. It could also be a sign of your AC unit needing replacement. A professional should inspect the unit right away.
Recognizing these HVAC danger signs and calling for repairs promptly will help you avoid bigger and more expensive problems in the future. If you need HVAC repair or maintenance in the Broken Arrow area, contact the certified professionals at Air Assurance.